
In this article, you will come to know about the operation and shifting of the Cradle and Davit System.
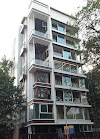
Facade Maintenance- Davit System Shifting and Re-installation

A. Operating the Control Panel of the Cradle
- Unlock a switchboard panel door and switch on the keys to check if the power connection is working.
- Close the panel door. A green signal will get light.
- There are modes provided in Switch, In one mode ropes at both sides will get released, and in another mode, ropes at only one of the sides get released.
- There are two ropes on both sides i.e. The primary rope runs through the motor and can be winded or unwound with electric power during operation. The secondary Rope is for safety and can be released by pulling it after pulling the Lever for the Overspeed device.
- An emergency lever is provided in a motor to lower the cradle in case of Power Failure.
- Two Hooking points are provided to hook the Safety Belt. (However, some of the Clients will insist on using the Fall arrestor by connecting it to the rope. Thus operators will not be fully dependent on Cradle only.
B. Shifting the Cradle:
Work to be done at Cradle kept on the Ground Floor
- Keeping the power on, at the very first, lift the trolley up and release both secondary safety ropes by 1-2 meters.
- Lower down the trolley to the ground. Release both the primary /motor ropes by 1-2 meters.
- Switch off the panel inside the Facade Cradle.
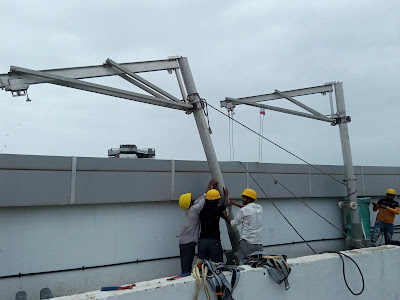
Work to be done at Terrace
- Lose the Boom Locking Pin with the plier. It will allow the boom to revolve around a vertical member i.e. Davit Hoist.

- Thus the Wire Rope hooked to the Davit Trolley attached at the end of Davit Boom will come nearer to the member involved in shifting by standing over the parapet/coping.
- Unhook the rope from the Davit Trolley. Tie the strong Cotton rope to its hooking Eye bolt and leave the cotton rope slowly downwards towards the Trolley.
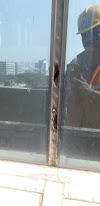
- While lowering the cotton rope, care should be taken that the wire rope and eye bolt do not strike the facade glass or any other feature of the Facade.

- Keep one member on the ground floor near the Facade cradle. Wire rope which is wound at the drum in a Facade cradle and coming up from the motor can be kept as it is. While the person at the top releases the Wire Rope with Cotton Rope, a person on the ground floor should keep the wire rope in a proper manner. ( Refer to Image).

- Carry out the same process for all 4 wire ropes.
- The person releasing the wire rope and the person collecting the rope should remember which wire rope belongs to the motor and which rope belongs to safety.
- That means on one side, the primary/motor rope will be towards the Facade Glass ( inner side) and the secondary / safety rope will be away from the Facade ( outside )
- Unplug the Cable from the Junction and lower it in the same manner as the Wire rope. This cable can be put in a tray provided with a trolley. Only need to protect the electrical pins properly.


C. Lowering the Davit Hoist with Booms
- After lowering the wire ropes and cable, pull the cotton rope. It will help in lowering both the hoist masts.
- Tie the cotton rope at the top of the Rope. Ensure the Knots are sufficiently strong.
- Rotate the boom inside. Position the boom firmly by tightening the Boom Locking pin with a plier in such a manner that while lowering the boom it must not get loose. Otherwise, it will fall by its own weight downwards. It will be harmful to the person/worker near the boom or it may damage the property.
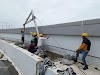
- After ensuring the strength of knots, keep a minimum of 1 person holding the other end of the rope tightly. (Refer to the image)
- Pre-decide the side of the boom where it will get tilted while lowering the boom.
- It's time to remove the Pin which is on the opposite side of the tilting side.

- Remove the nut and bolt that holds the Davit Hoist pin at the Davit Socket plate.
- Let 2-3 persons allow tilting the vertical boom slightly to and fro. At the same moment, one member should remove the main pin.
- After removing the pin, a vertical boom can be tilted completely till it touches the floor.
- Since another pin is still in a fixed position, the post can be tilted by keeping this fixed pin as a center.

- 2-3 members should push the Vertical post. Members holding the rope must keep the rope very tightly since the load on the rope will be greater.
- Once the post tilts enough such that it will start falling on the ground, the member holding the rope should release the rope very slowly.
- The vertical post will slowly get tilted and one of the members should be ready to receive the top part of the post. Members tilting the vertical post previously can change their position and can come to share the load of a top portion of the post.
- In the end, all the members, except the member holding the rope can come to share the load of the top portion of the post and keep the post on the ground.
- Removing the second pin from a socket is to be done by lifting the bottom end of the post. For this, it is to be shaken frequently, and at the same time one member is to remove the pin.

- Carry the same procedure for another Vertical Post.


D. Shifting the Davit Mast with booms
- Place a metal rod horizontally between MS members at the intermediate level i.e. members can hold the rod to pull the Vertical Post.
- Lift the boom with the rod and pull the post in the front.
- On the backside means the lower portion of the Davit Hoist will have wheels. These wheels will help to pull the post.


E. Installation of Hoist at New Location.
In general, it is a reverse process that you have read before. But for clarity and better understanding, I am writing the process in detail.
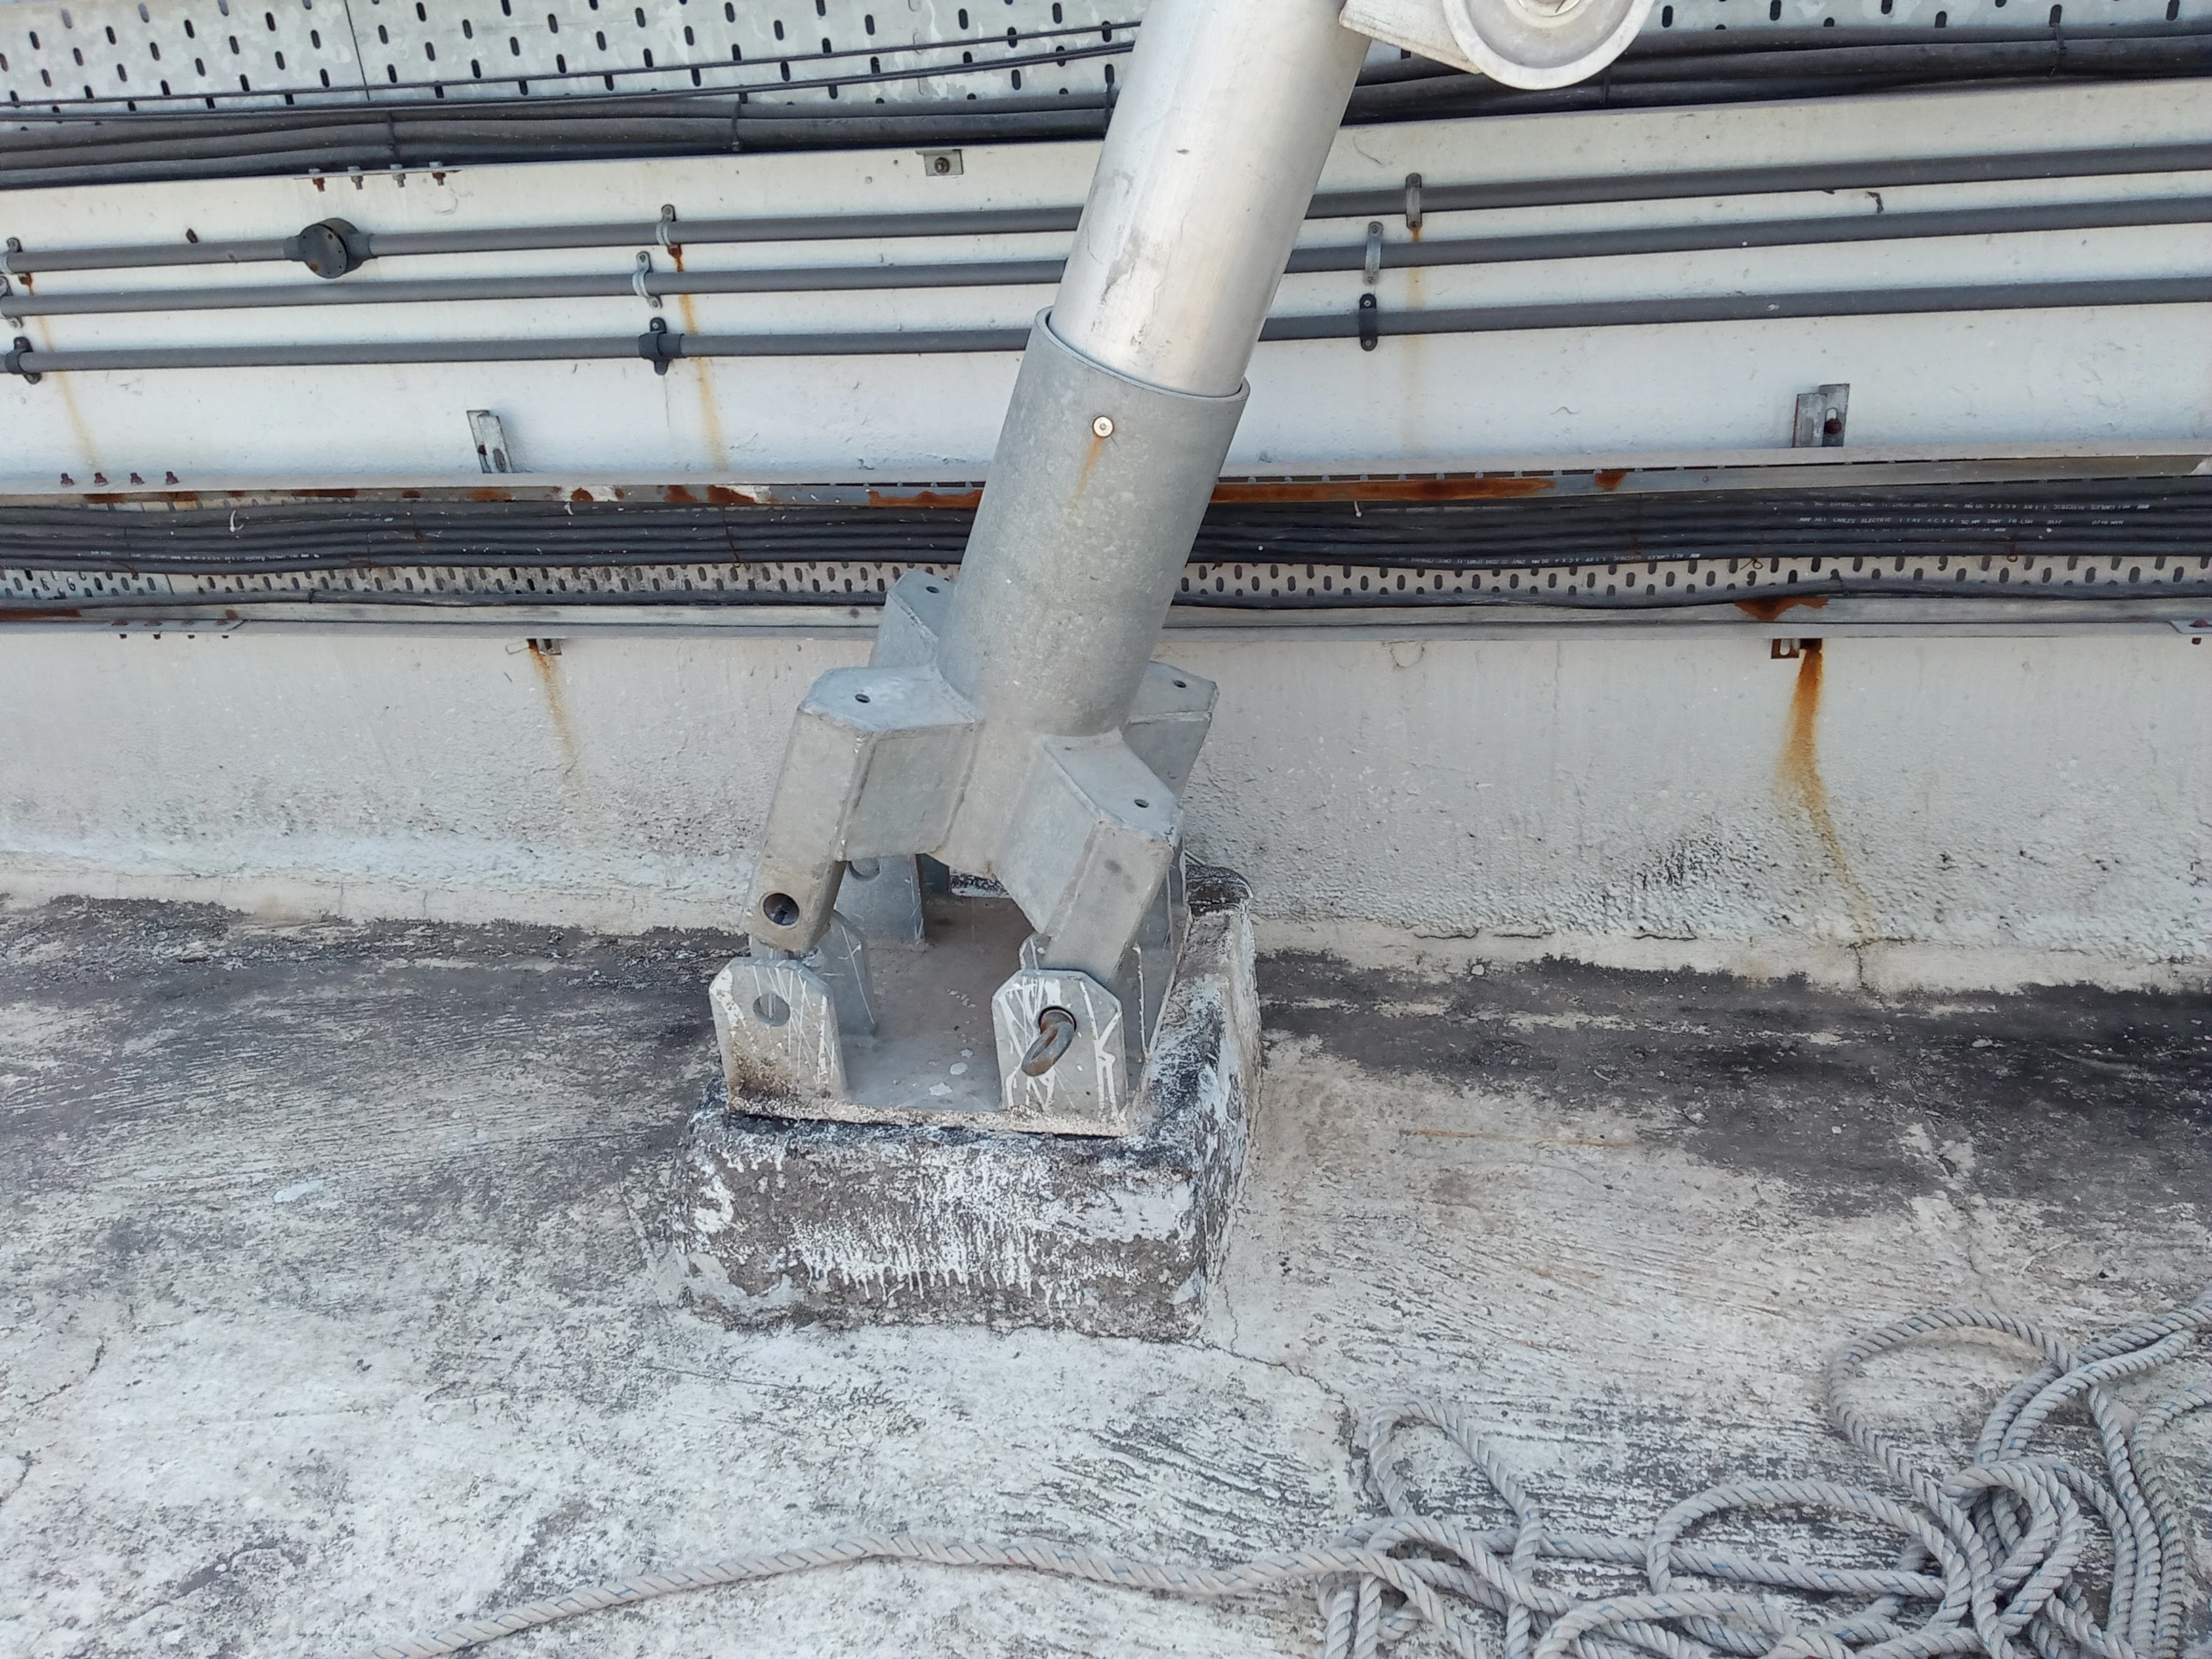
- Position the Hoist closer to the Davit locking plate. Ensure the Socking plate is fixed to the RCC pedestal.

- Lift the Davit Base and align the holes of the Davit base with the holes of the Davit socket plate.

- For this two members are required to lift the boom at the end of Davit Base and 3-4 members to lift the boom at the Boom ended.
- One member should be ready to insert the Hoist locking pin. It takes time to align the holes of the Davit Base and socket plate. Members to shake the boom and the locking pin will get inserted.
- Lock the locking pin with the help of a nut bolt.
- Now, it's time to apply the strength of the 6 members together.
- When the whole assembly is down, rotate the horizontal member and lock the position with a boom-locking pin with a plier. Otherwise, it will fall while raising the hoist.
- Tie the cotton rope at the top end of the Davit Hoist.
- Hold the other end of the rope tightly. You can use a metal rod for support. This rod can be inserted into the nearer Socket plate. Wound the rope around the metal rod. ( We used one Hoist Locking Pin for the same purpose).
- One member should pull the rope wound to the rod. Other members lift the Top End by Hand.
- After raising the boom to a sufficient height, one of the lifting members can join the rope-pulling member.

- When the Hoist is about to get a vertical position, one member can insert the second Hoist Locking pin.


Raise the Second Hoist in the same manner.
F. Fixing the Wire Ropes again
- Shift the Cradle along the Vertical imaginary line of the Vertical Davit Hoist.
- Leave the cotton Rope from the Terrace to the Ground level slowly.
- Member in a standing position at Parapet of Terrace or Coping will lose the Boom locking pin and rotate towards himself.
- Member at Ground level will hook the Pin of the Wire Rope to the Knot of the Cotton Rope.
- The member at the top will lift the cotton rope slowly.
- Care should be taken that the Hooking Pin should not strike the Facade Glass or any Facade Feature.
- Once the Hooking pin reaches a hand to the member at the top, He will hook it to the Davit Trolly.
- He should ensure that the Right Wire Rope from the correct side of the Cradle will get hooked to the correct boom to the correct hole.
- There are chances of mistakes that the Primary rope which is outside at the Cradle may get connected to the inner connecting hole of Davit Trolly at the Boom. This can be rectified later.
- Carry Out the same procedure for all remaining 3 wire ropes.
- Raise the cable kept in a trolly, in the same manner as lifting the wire rope.
- Plug the cable into the socket. Remember to keep the extra length of the Cable at the terrace so that it can be tied somewhere to ensure its engagement.
- Once all the ropes and cables are fixed, leave the cotton rope on the ground floor after tying it firmly somewhere on the terrace.
- You can now Switch on the Power 'ON' at the terrace and ensure its connection to the ground floor at the trolley.
G. Checking the operation at Trolly
- Ensure the green light is appearing. Push the Start button and the 'UP' button.
- The extra length of the Wire Rope will get wound at both the Wire Drums in the cradle.
- Since the extra length will be different, the extra length of one wire rope may remain loose.
- To wind this extra length of one rope, change the mode of operation from operating both motors to only one motor.
- Once you ensure that all the ropes are tight enough, please check if there is any twist between adjacent ropes. If a twist exists, rehook the correct wire rope to the correct hole of Davit Trolly.
- Now, members can go inside the trolley and raise the Cradle up to some height. It should not get slipped from the ropes.[If the trolly is slipping, it should be checked and repaired by the specialist.]
- When the cradle gets lifted check the position of the Trolly. One should imagine and confirm that Trolly will travel along the way where he wants to work.
- If the location is wrong or not correct enough, then lose the wire ropes again to allow the member at Terrace to rotate both booms accordingly.
- Raise the Cradle again to confirm the position of the trolly.
- After confirmation, lower the Trolly fully on the ground.
- Now, members at the top can fix the angle of booms by locking the Boom Locking pins with a plier.
Leaving the Cradle for the next day
- Switch off the Control Panel and lock it with a key. Switch off the Power supply at the Terrace.
- Cover both the motors in the Trolly and Control Panel to avoid water going inside.
Contact us for Facade Maintenance work at your premises.
We will be happy to serve you.


0 Comments